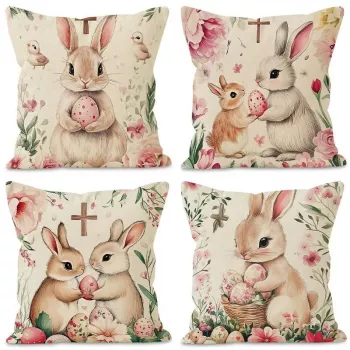
An Easter Bunny print is an easy, cheerful craft that works for wall art, greeting cards, gift tags, or kids’ seasonal activities. You can make one with simple drawing tools or by assembling cut paper shapes. The key is a clean bunny silhouette, a spring-ready color palette, and a few small details that make it feel lively.
Start with cardstock or printable paper (white, cream, or pastel), a pencil, an eraser, scissors, and glue. Add markers or paint for details, plus optional extras like patterned scrapbook paper, a small pom-pom for the tail, or a cotton ball. If you’re creating a digital version, use a simple design app and a printer that can handle heavier paper.
For a classic look, sketch a side-profile bunny silhouette: rounded head, gentle curve for the back, and one or two upright ears. Keep the outline smooth and simple so it reads clearly from a distance. Cut it out and use it as a template to trace additional bunnies onto other colors or patterns.
Decorate the silhouette with a small nose, whisker dots, and a tiny eye (or keep it minimalist). To make it feel “Easter,” add a bow tie, a floral crown, or a garland across the bunny’s neck. A soft pink inner ear and a fluffy tail instantly make the print more playful.
Center the bunny on a contrasting background and leave a margin around the edges for a polished, print-like feel. Consider a simple caption such as “Happy Easter” in neat hand lettering. Let glue or paint fully dry, then frame it or mount it on a clipboard.
For more variations, templates, and styling ideas, visit the full guide: https://lumiro.store/how-to-make-an-easter-bunny-print/.
Use matte cardstock (around 80–110 lb cover) for a sturdy, frame-ready result. If you’re using regular printer paper, choose a heavier bright-white option to prevent curling and ink bleed.

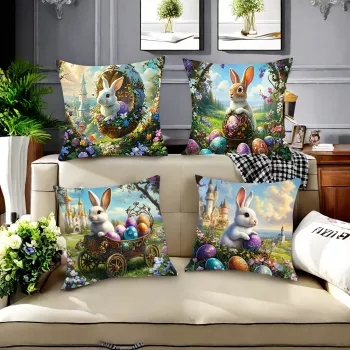
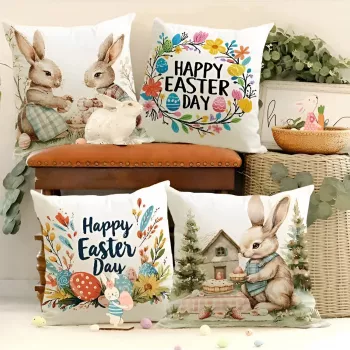









Leave a comment